

In this blog post I will cover the topic, how to use an existing Helm Chart project and an existing Argo CD instance on OpenShift to deploy an example application.
The example application is a Node.js server application I used in several blog posts related to OpenShift.
This blog post is in the context of my last blog posts using IasCable and Software Everywhere to setup GitOps.
In this last blog post I showed how to setup Red Hat OpenShift and Argo CD and an initial GitOps repository on IBM Cloud and in this blog post we reuse the created environment with IasCable GitOps to create a new application inside Argo CD manually.
The blog post is structured in following sections:
- Basic architectural overview
- Setup steps
- Some additional details
- Summary
1. Basic architectural overview
The following diagram shows a simplified overview of the dependencies we are going to setup.

- As you see, we have an IBM Cloud in Red Hat OpenShift cluster with
Argo CDinstalled. - We have a
GitHub projectwith aHelm Chartfor the example application deployment in place.
2. Setup steps
Open your OpenShift cluster on IBM Cloud and follow the next steps.
Step 1: Get the admin credentials
- Select in the Administrator perspective
workloads/secrets - Insert in filter
argocd-access
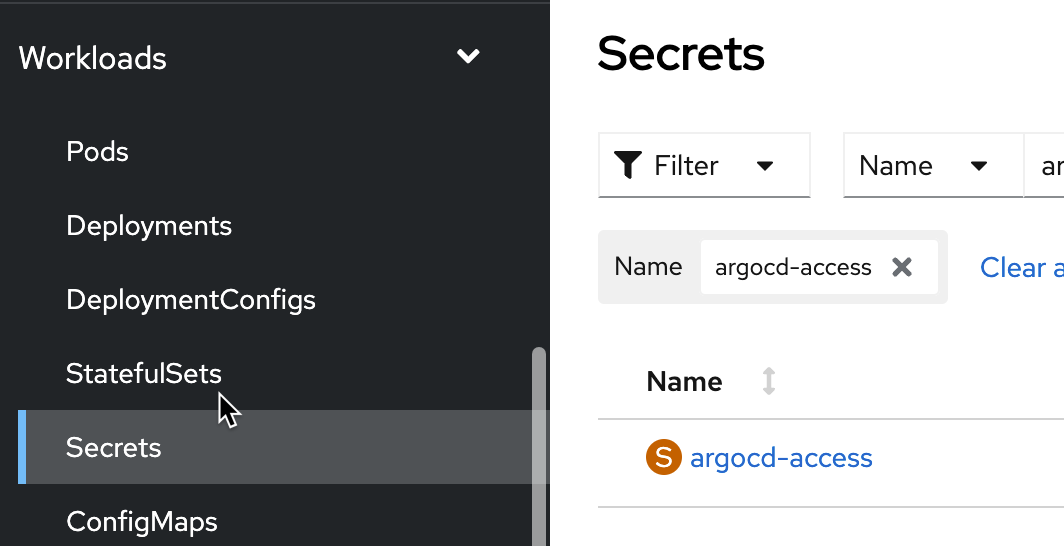
- Open the secret and copy
ARGO_CD_PASSWORDandARGOCD_USERand save it for later usage.
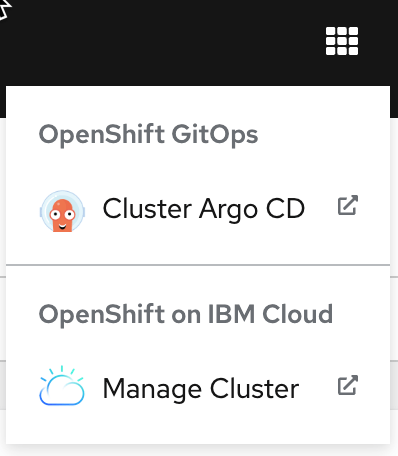
Step 2: Open Argo CD
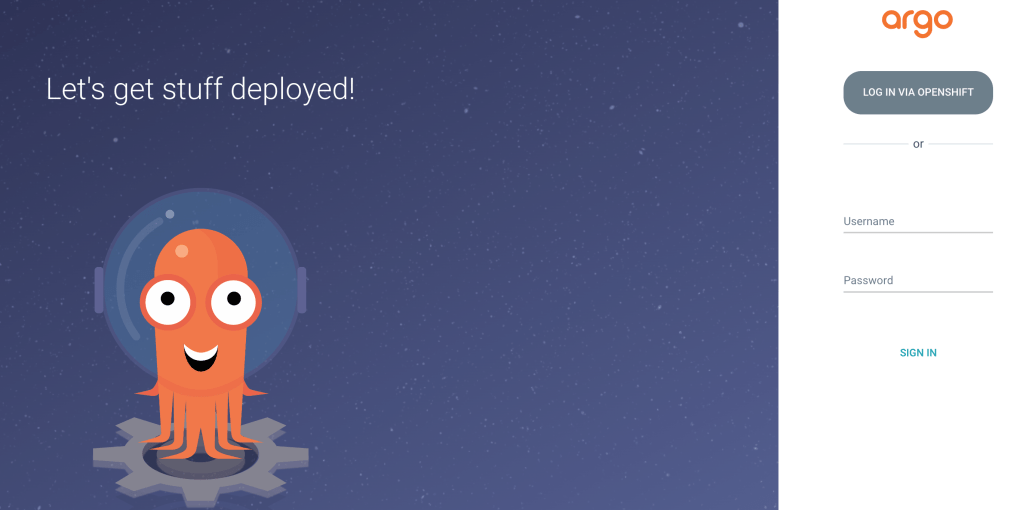
Step 3: Log on to Argo CD with the saved user and password values
Step 4: Connect to the GitHub repository with the Helm Chart
GitHub project link: https://github.com/thomassuedbroecker/vend-helm
Step 5: Create a project
Name: vend-helm

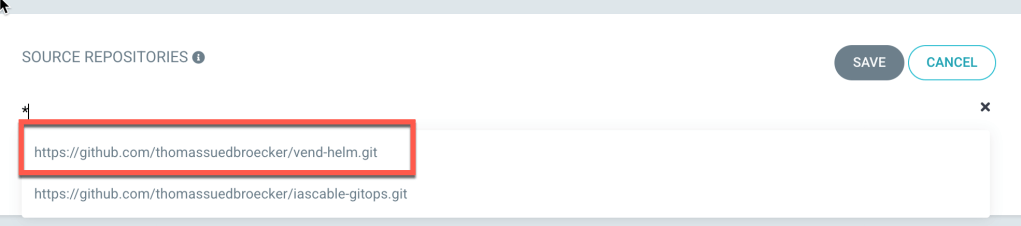
Step 6: Configure the project
- Select as
source repositoriesthe newly created repositoryhttps://github.com/thomassuedbroecker/vend-helm
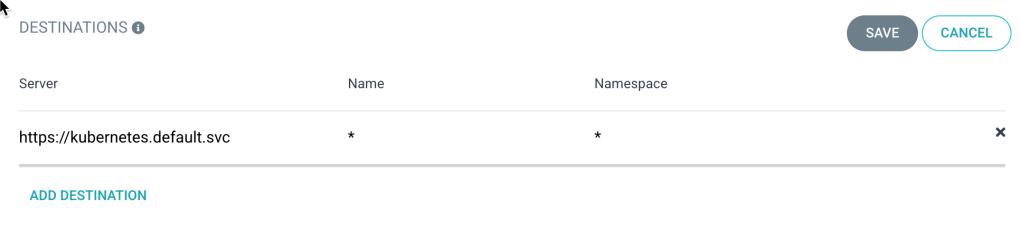
- Configure
destinationsselecthttps://kubernetes.default.svc

- Configure the
cluster resource allow listwith wild cards
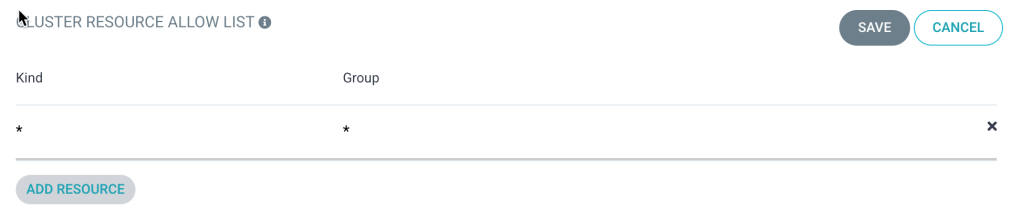
- Configure the
namespace resource allow listwith wild cards

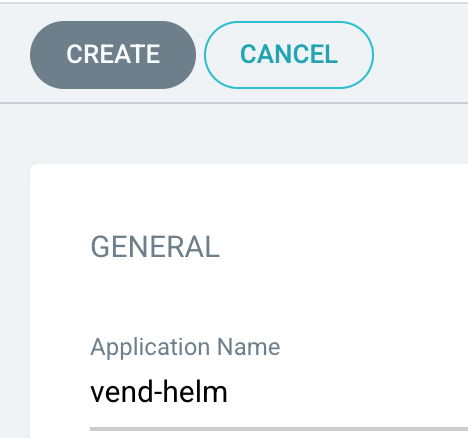
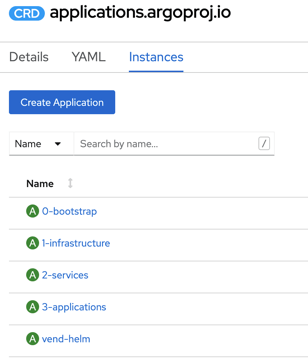
Step 7: Create a new application
- General -> Name:
vend-helm - General -> Project:
vend-helm - General -> Sync policy:
Manual - Source -> Repository URL:
https://github.com/thomassuedbroecker/vend-helm - Source -> Revision:
HEAD - Source -> Path:
charts/vend-helm - Destination -> Cluster Name:
in-cluster - Destination -> Namespace:
vend

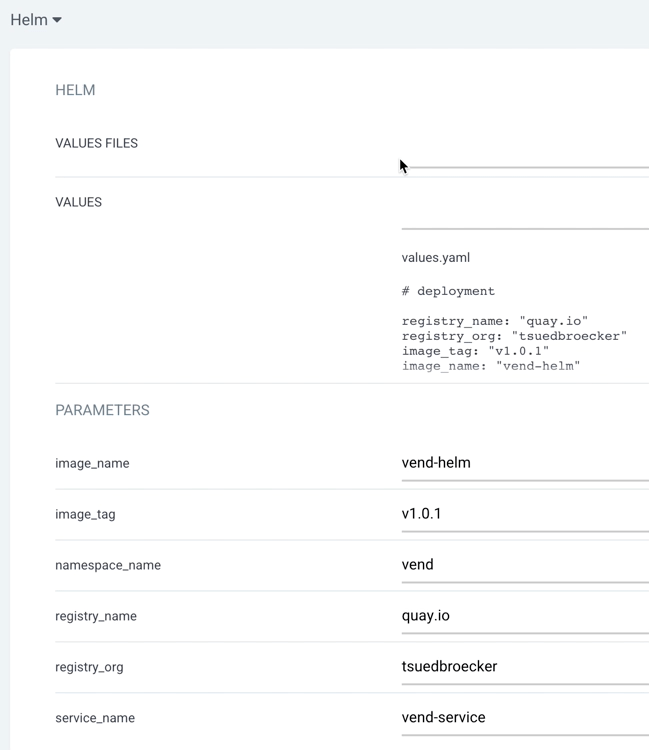
- Helm : Just use the defaults
- Press create
Step 8: Sync the application
Step 9: Verify the status
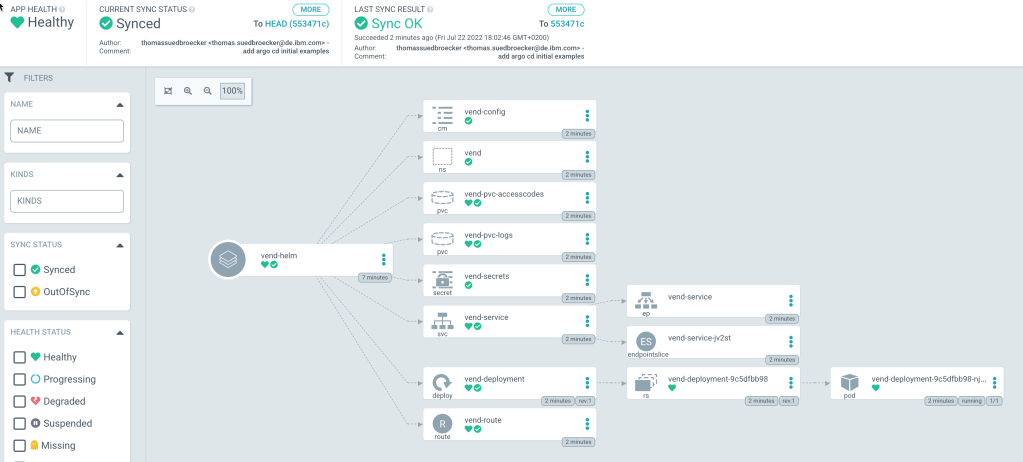
Step 10: Open the application

3. Some additional details
You can also configure Argo CD with yaml files and apply them to your cluster. Here is a small initial overview of created resources in the OpenShift cluster. You also find links to example initial Argo DC yaml files I put into the Helm GitHub project.
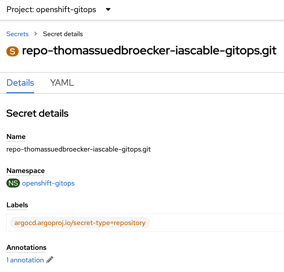
- Argo CD repository to the public GitHub repository (this information will be saved in a
secret) The image below shows thesecretin OpenShift to connect to a GitHub repository.
- ArgoCD project thats points to the Helm chart.
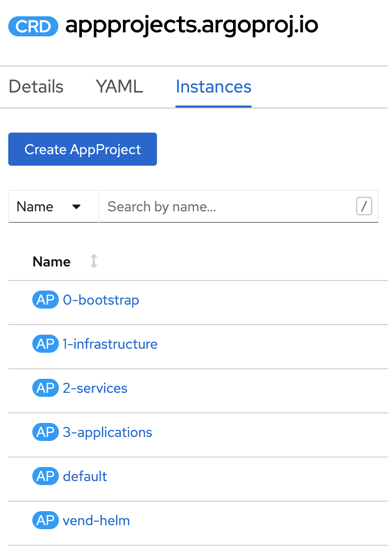
- Argo CD application with will apply the Helm templates to create the application in OpenShift.
4. Summary
As we saw, it is very easy to create an example environment with IasCable and Software Everywhere to setup GitOps and we were easily able to add our own application to Argo CD.
Let’s see how we will automate the creation of our own application with IasCable and Software Everywhere in one of the next blog posts.
I hope this was useful to you and let’s see what’s next?
Greetings,
Thomas
#ibmcloud, #softwareeverywhere, #iascable, #argocd, #openshift, #helm
